Choose the language.
TKART magazine How To | Carburetion with a diaphragm carburettor
Exclusive Content

CARBURETION WITH A DIAPHRAGM CARBURETTOR

Max Bernardi
11 September 2016
alt
alt alt
Advertisement
1 INTRO
Normally, non-shifter kart engines use two types of carburettors: diaphragm and float-type. Although they have the same task (mixing air with fuel), the way they function is completely different. We will analyse the diaphragm carburettor, which has the advantage of allowing the carburetion to be adjusted directly on the track.
In itself, this is a simple task, provided you follow certain steps and carry out a few checks before proceeding with the actual carburetion.
alt
2 PRELIMINARY CHECKS
For carburetion to be efficient, the entire kart needs to be “work properly”: the gear-sprocket ratio, which needs to be suited to the circuit, the spark plug, with an appropriate heat rating: this is the only way to fully exploit the characteristics of the engine’s delivery.
Whether the gasket between the carburettor and the reed valve pack is inserted with the hole for the vent on the correct side also needs checking, unless you use a dual-hole gasket that allows mounting on both sides. The rubber connectors between the filter and the carburettor must be properly fastened using metal clips and a check needs to be performed to see whether wear and temperature changes have resulted in cracks and, consequently, the infiltration of air. The mixture should respect the percentage specified by the engine manufacturer: different oil/petrol ratios modify carburetion and can cause engine seizure.
The air filter should be clean to ensure proper suction. It is advisable to clean the filter after each day at the track.
alt
Choose a spark plug with an appropriate heat rating for the season and temperature
alt
Set the correct ratio for the circuit in question
alt
Position the gasket properly
alt
Ensure the mixture respects the percentage specified by the engine manufacturer
alt
Keep the air filter clean
alt
Check that the rubber connections are tight and not worn
3 THE THEORY
On diaphragm carburettors, carburetion is adjusted using two screw pins: the one closest to the engine modifies the fuel mixture at low revs, while the one towards the air filter adjusts the high revs. The screws affect the fuel lines: tightening reduces the flow rate and you get a “leaner” carburetion (less mixture with respect to air); loosening increases the flow (and therefore the percentage of mixture) and you get a “richer” carburetion”.
Normally, carburetion changes depending on ambient temperature: the colder it is, the richer it needs to be. In hot weather, lean mixtures are better.
Another important factor is air pressure: at sea level, pressure is greater and it becomes necessary to increase the percentage of fuel to air. Conversely, things need to be altered at high altitudes, where the air is thinner. During a day at the track, it is normal to have slight changes in temperature and humidity, for example, from morning to early afternoon. It is therefore advisable to adjust carburetion during the hottest time of day to maximise engine performance.
alt
4 IN PRACTICE
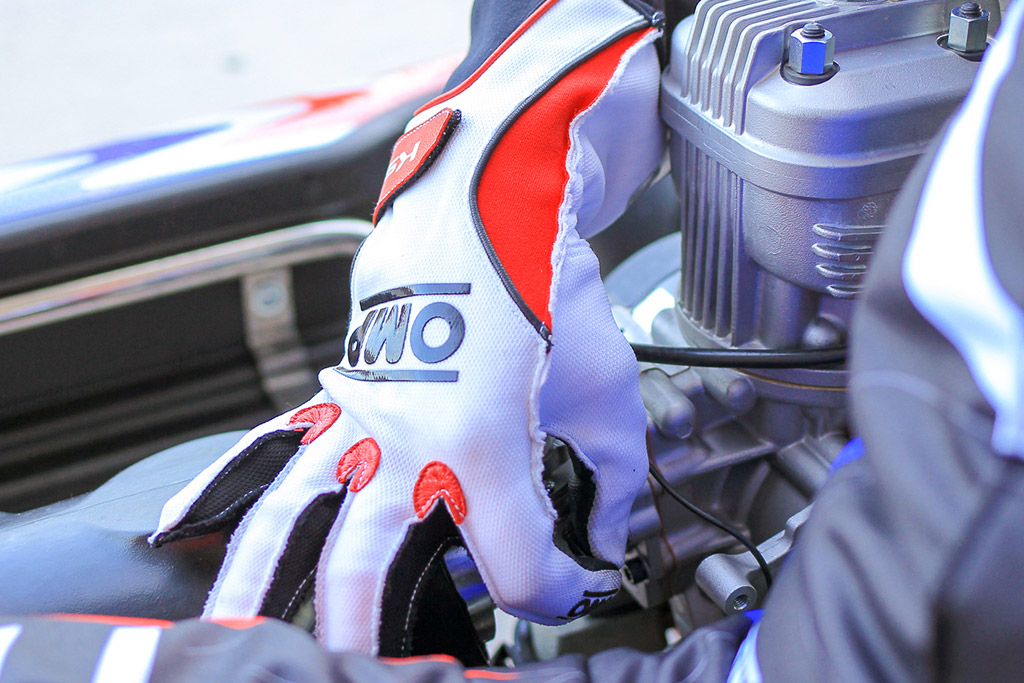
Only the track can decide the proper carburetion; the trolley can be used to pre-heat an engine, but even maximum acceleration does not provide the necessary information, because the engine doesn’t have any resistive load.
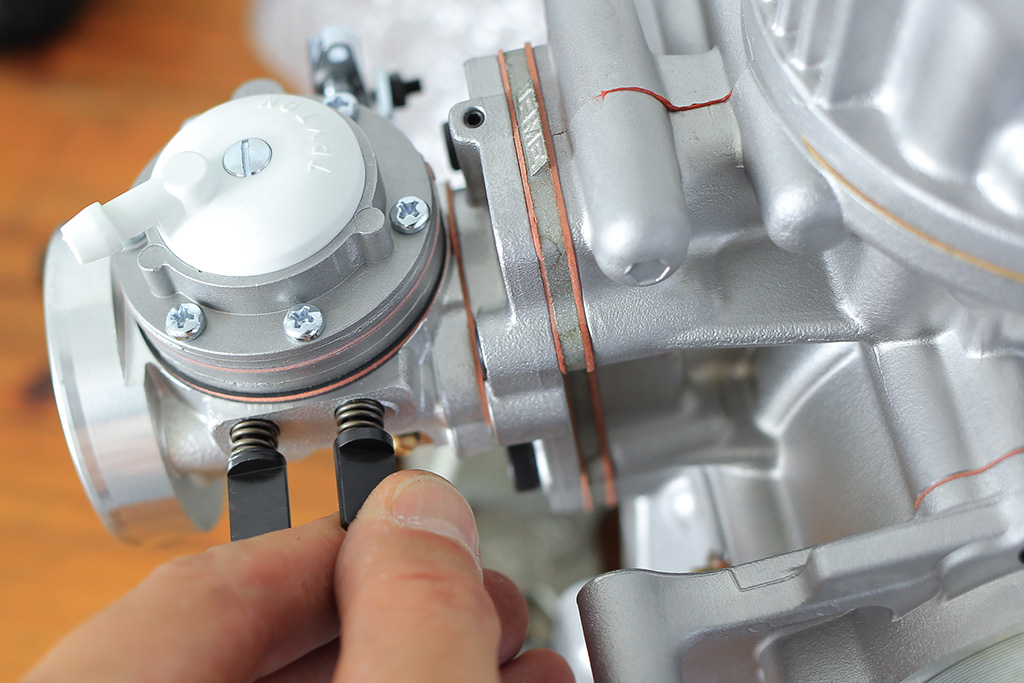
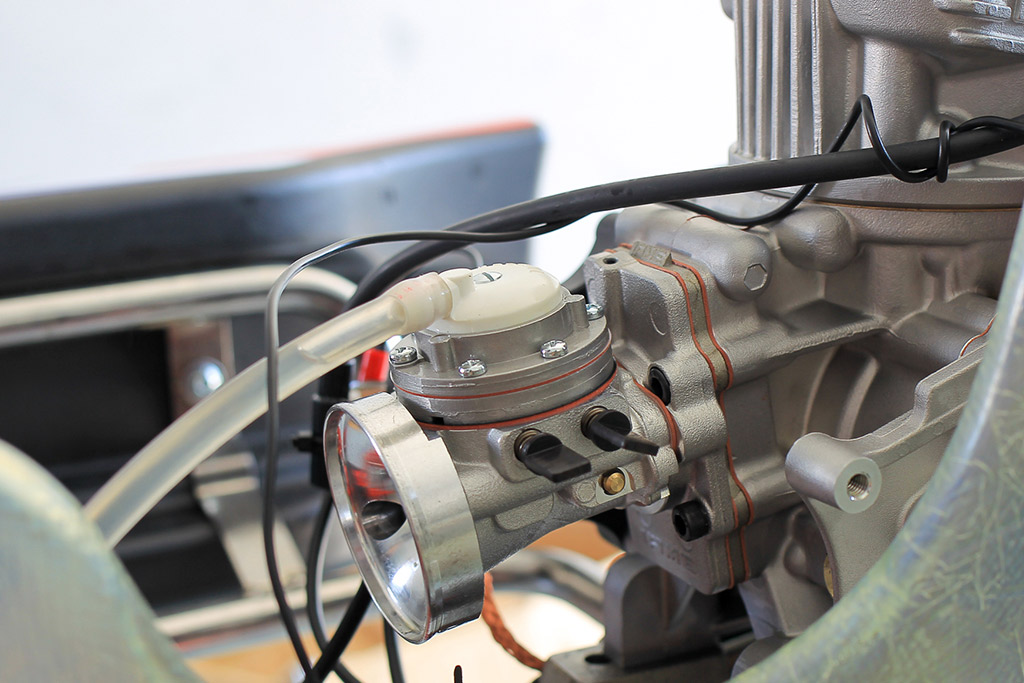
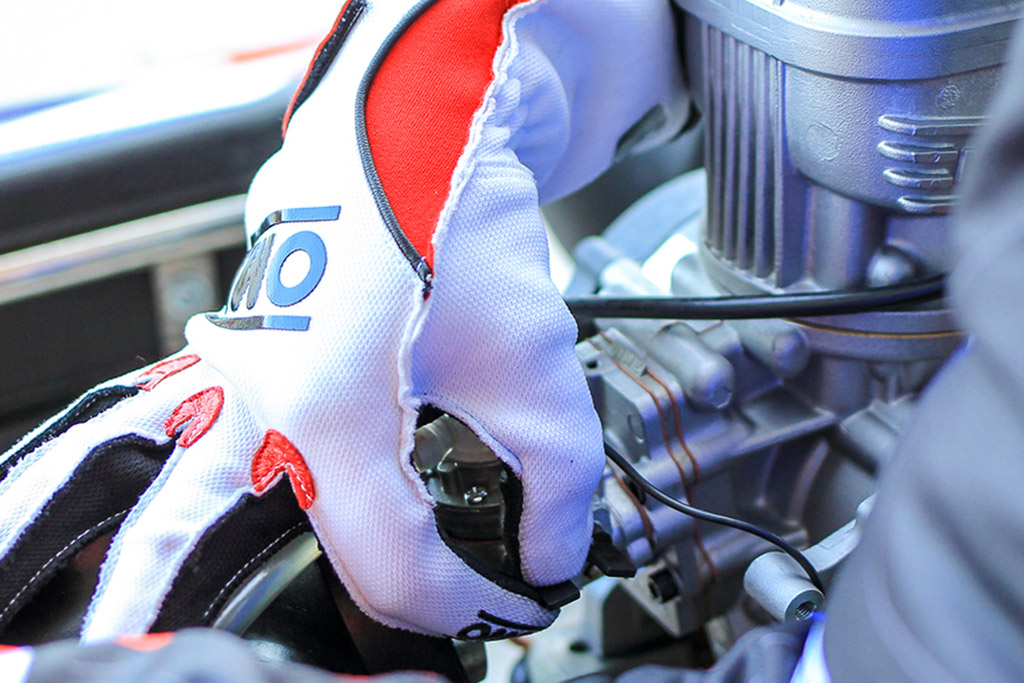
As a starting point, adjust the screws for low and high revs as directed by the carburettor manufacturer. Then, after a few revolutions to bring the engine to the correct temperature, begin the carburetion for low revs. Floor the accelerator out of the corners and if engine response is a bit hesitant (the engine revs take forever to speed up and there is a lot of smoke from the exhaust), it means that carburetion is “rich”, so it becomes necessary to slightly tighten the screw closest to the engine until the kart achieves a linear progression out of corners. However, if the revs do not increase instantly and the kart only accelerates sharply after a slight delay (the switch effect), accompanied by an almost metallic noise, when you floor the accelerator, then carburetion is lean and you have to loosen the screw to increase the flow rate of the mixture.
Once you have achieved a satisfactory setting at low revs, turn to the high revs. If at the end of the straight the engine (with the correct ratio) does not reach maximum revs, it means that thee mixture is rich and you need to tighten the screw closest to the filter so that the engine revs increase until you start braking or until the rev limit is reached.
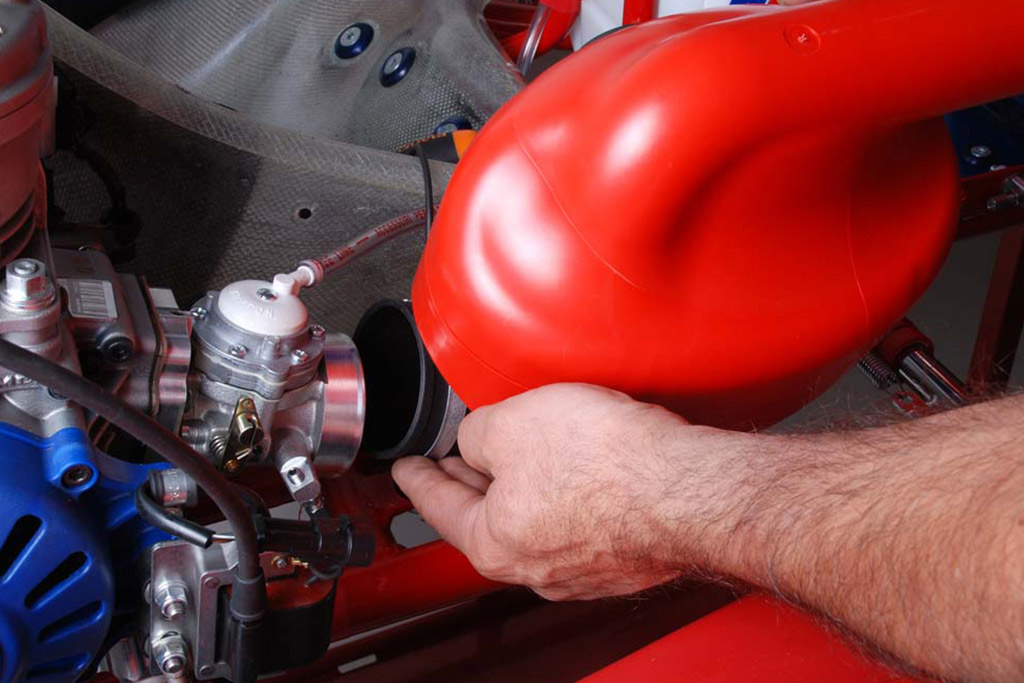
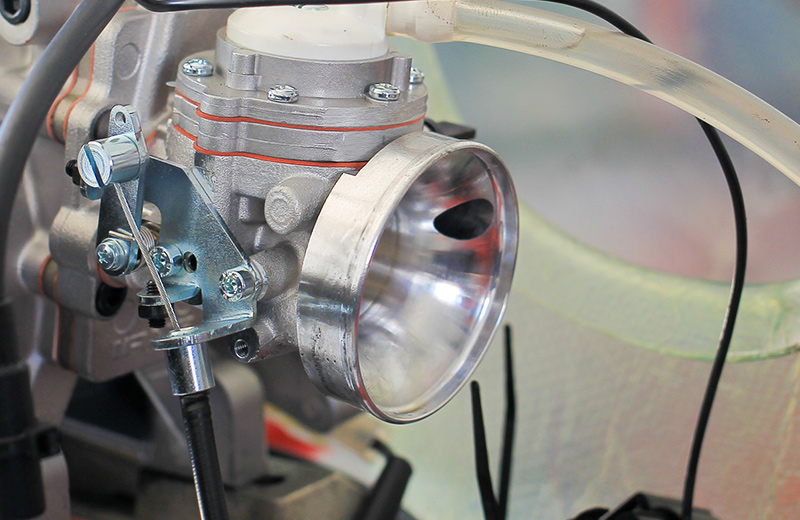
To get an idea, you can use the air filter: if the kart accelerates when you plug one of the air inlets on a straight, it means that carburetion is lean; if it slows down, it is rich. For engines with rev limiters, please note that in order to achieve maximum revs, the intervention of the limiter automatically makes the carburetion richer, because the oil/fuel mixture does not ignite due to misfiring.
alt
The screw closest to the engine adjusts carburetion at low revs
alt
The screw closest to the filter adjusts carburetion at high revs
alt
Plugging one of the filter inlets helps you understand the carburetion out on the track
Continue reading the article by subscribing for only 0.96 € / week
7
Explore these and many other
premium contents
Go to Magazine