Choose the language.
TKART magazine How To | The tricks for... correctly mounting a radiator
Exclusive Content

THE TRICKS FOR... CORRECTLY MOUNTING A RADIATOR

Max Bernardi
12 August 2018
alt
alt alt
Advertisement
INTRODUCTION
Everyone in karting knows how much cooling a fundamental parameter for is making the most of engine performance, especially when the ambient temperature starts to rise. Being able to lower the temperature of the engine depends, in the first instance, on the radiator and the size of its radiant mass. But that's not all: the whole cooling system also has a fundamental role, from the connecting tubes to the fittings, as well as the correct bleeding of the system. This is why it is important to have thorough knowledge on the correct procedure for mounting a radiator and what checks you need to do to avoid problems and optimise performance.
alt
A traditional radiator, with the curtain to partialize the radiating surface depending on the ambient temperature
1 MOUNTING
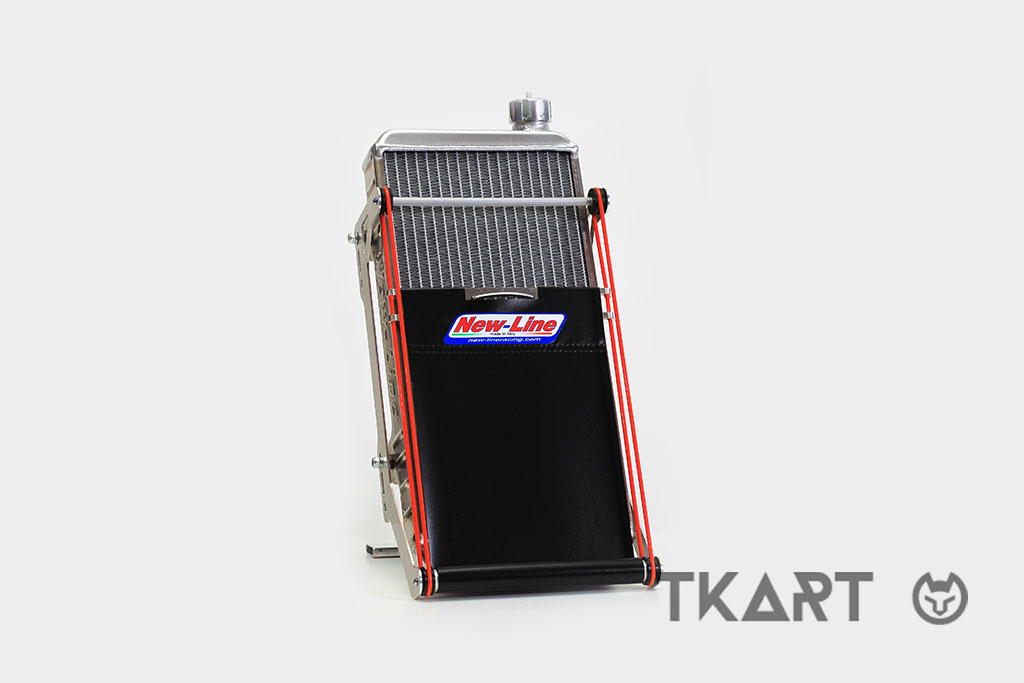
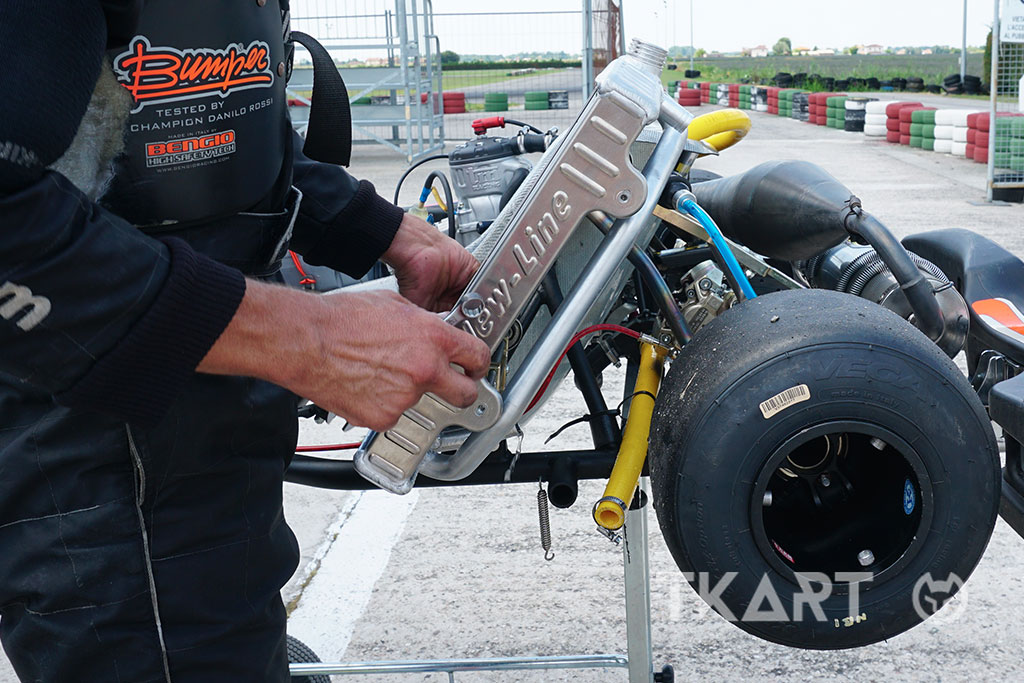
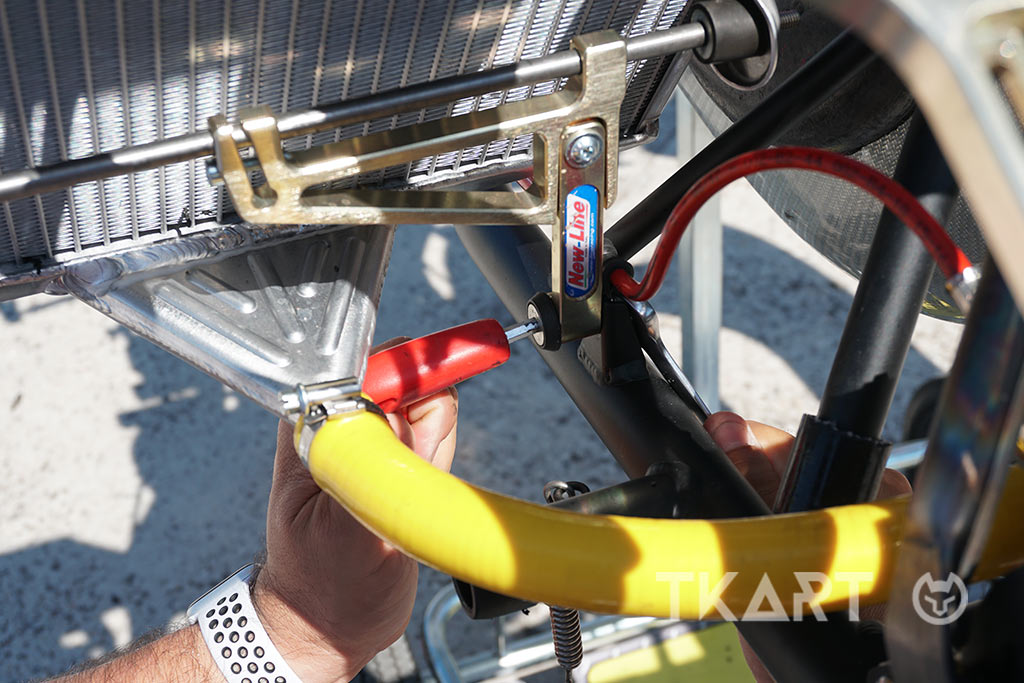
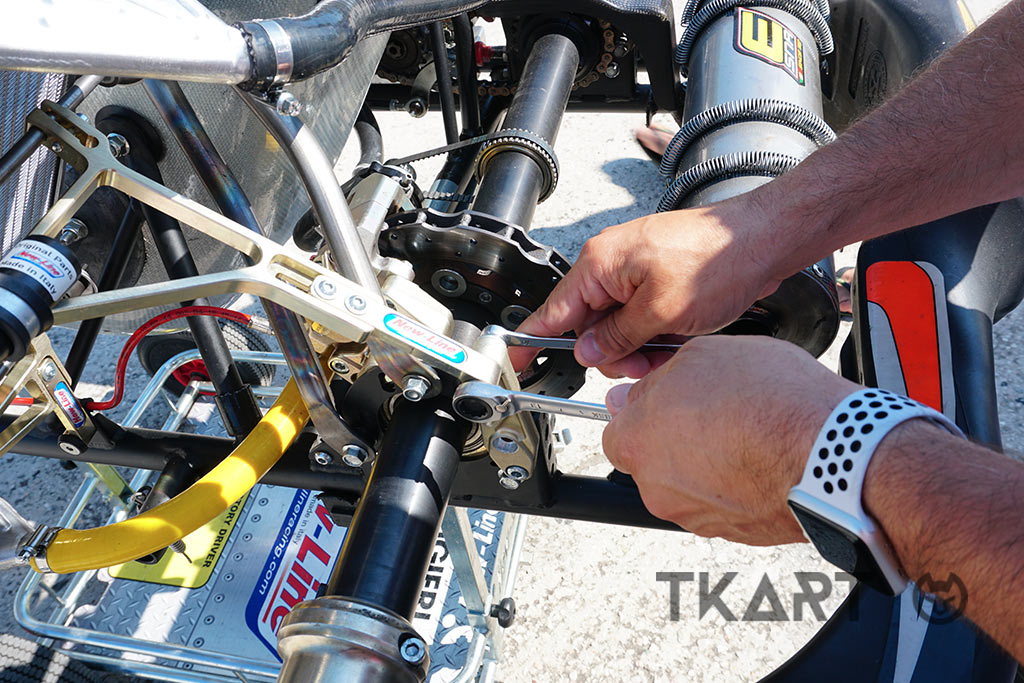
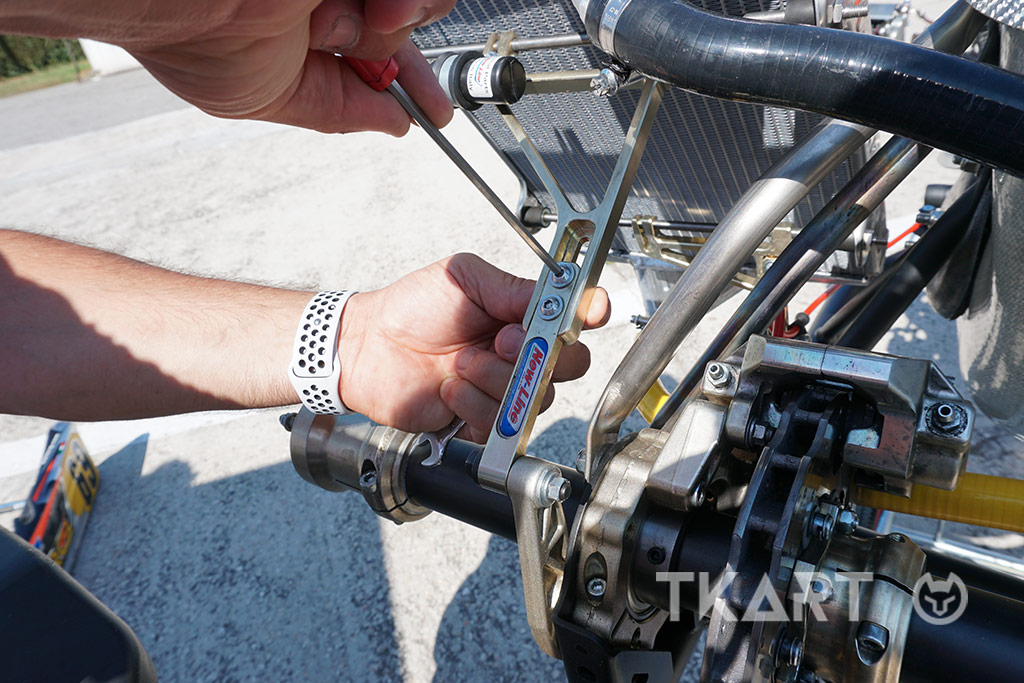
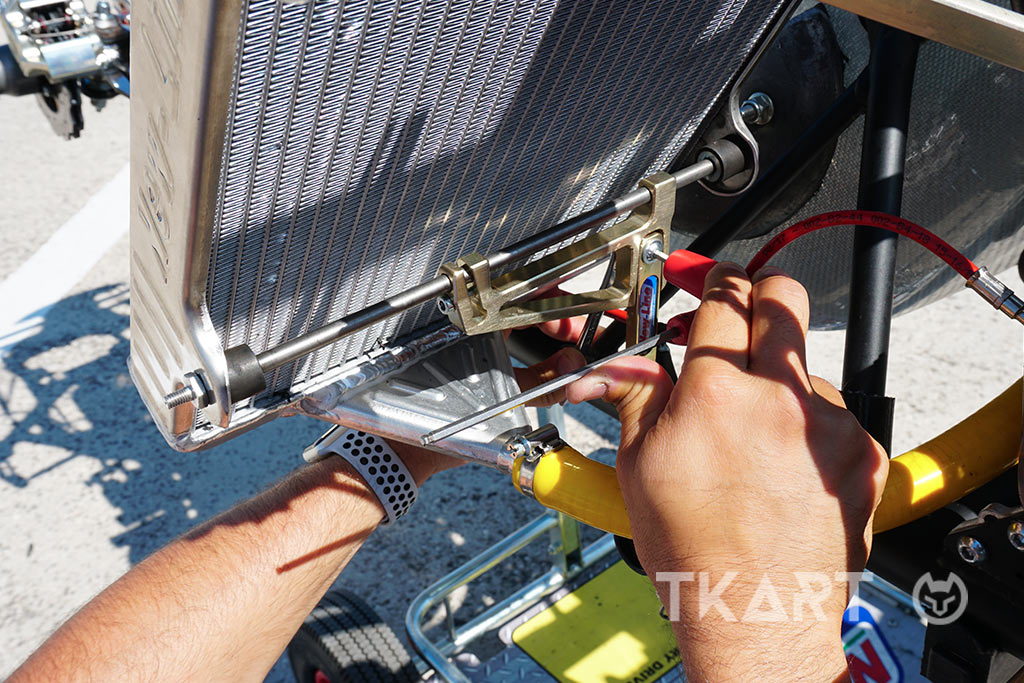
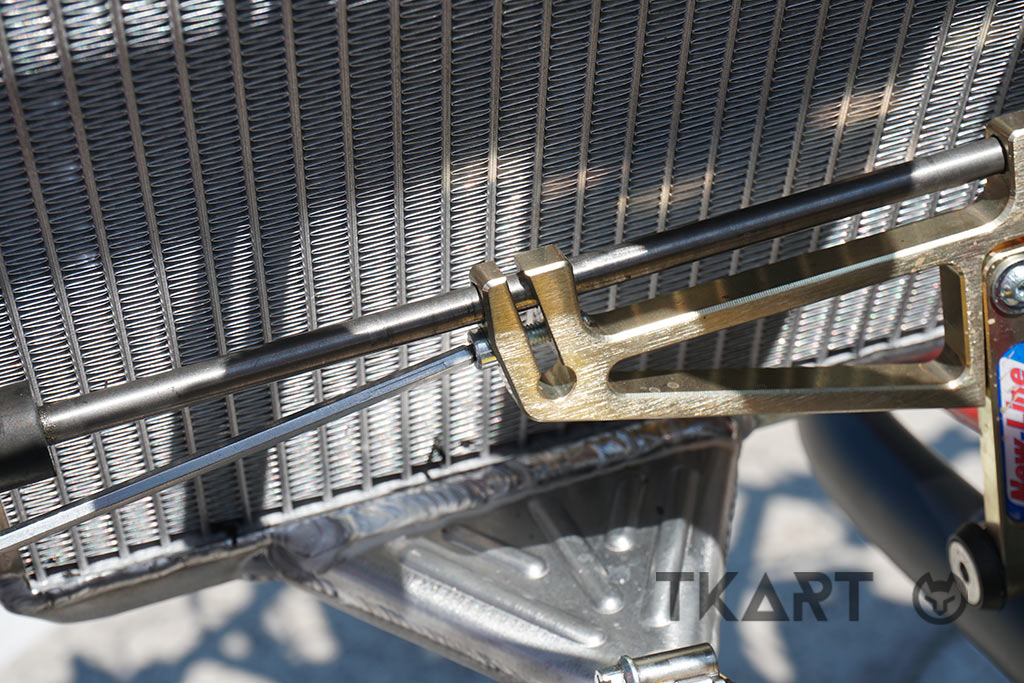
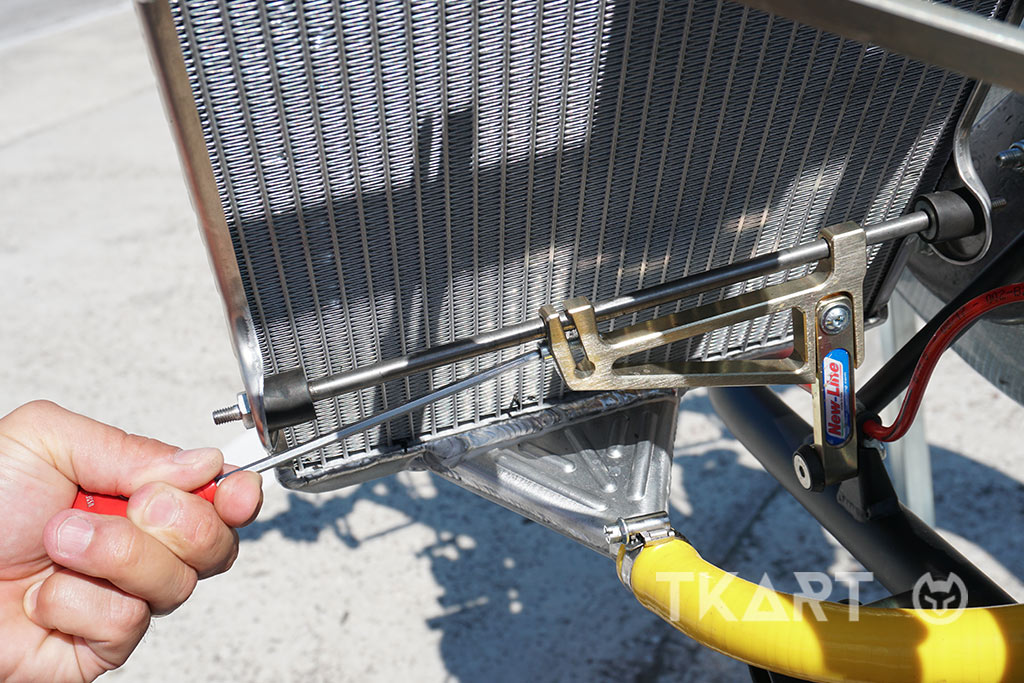
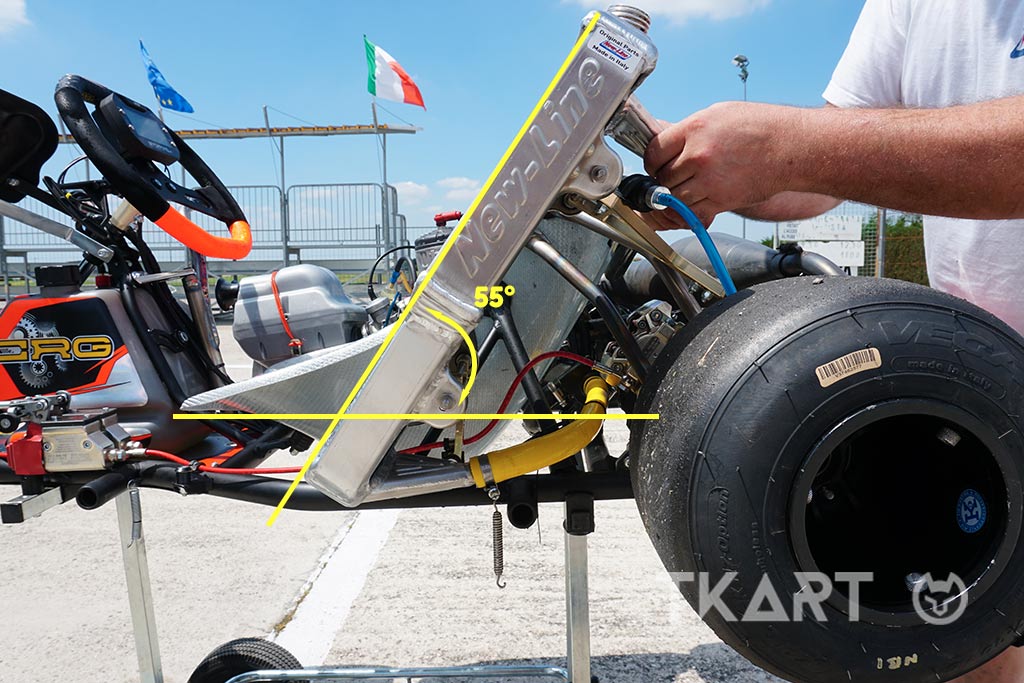
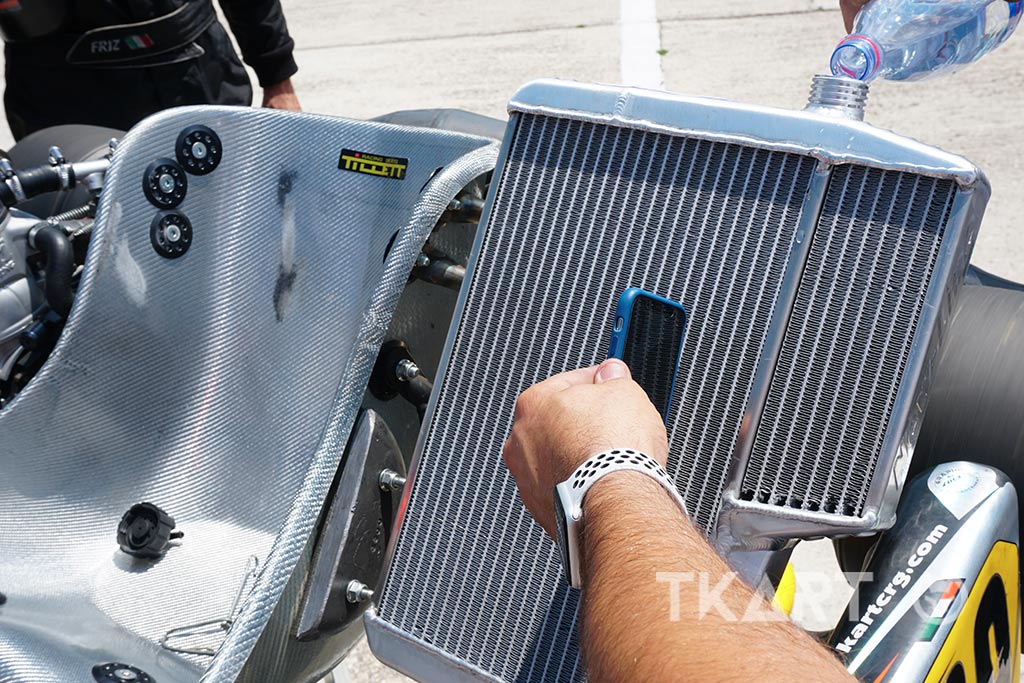
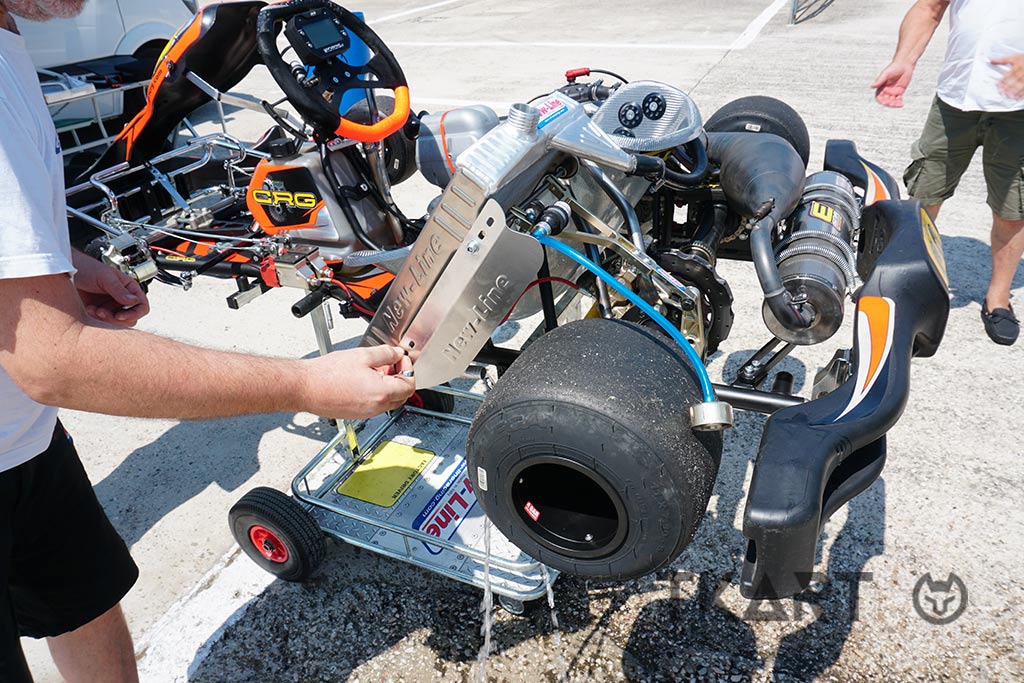
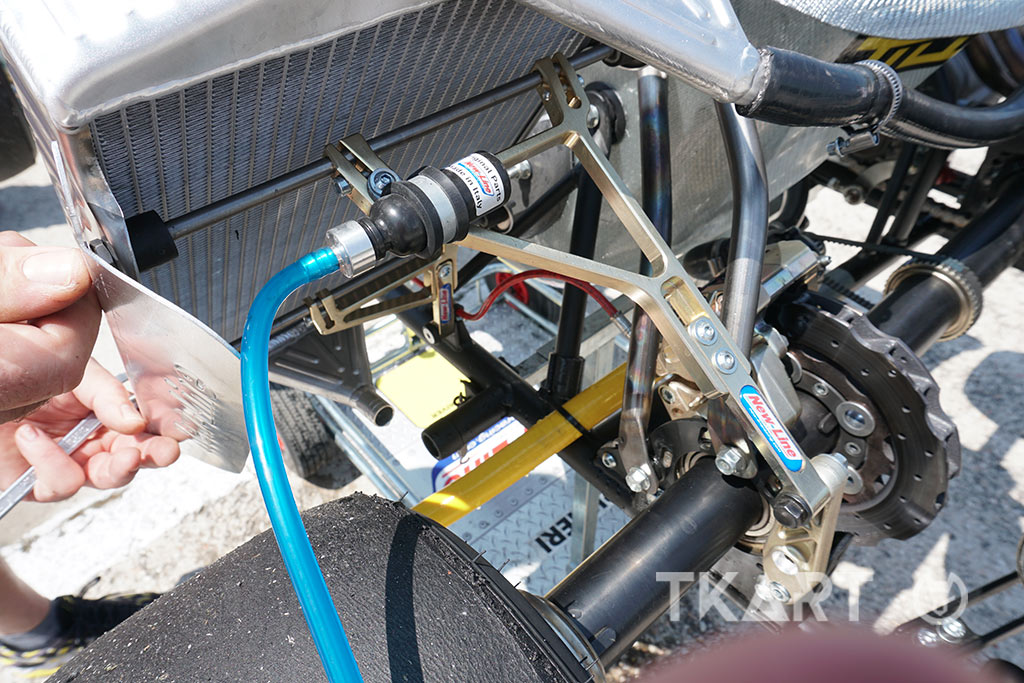
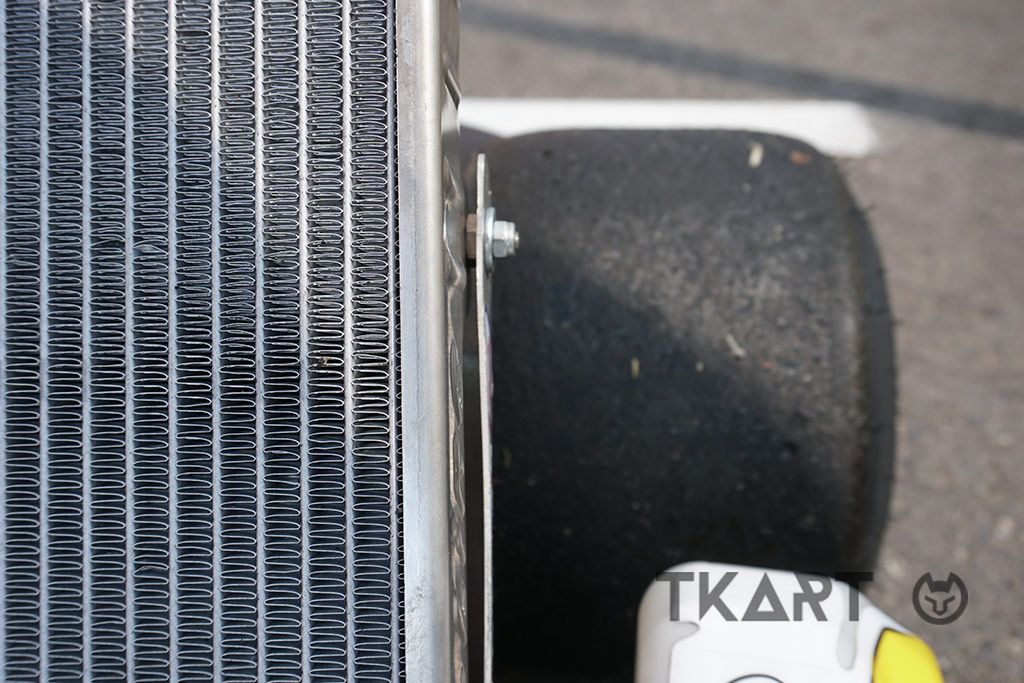
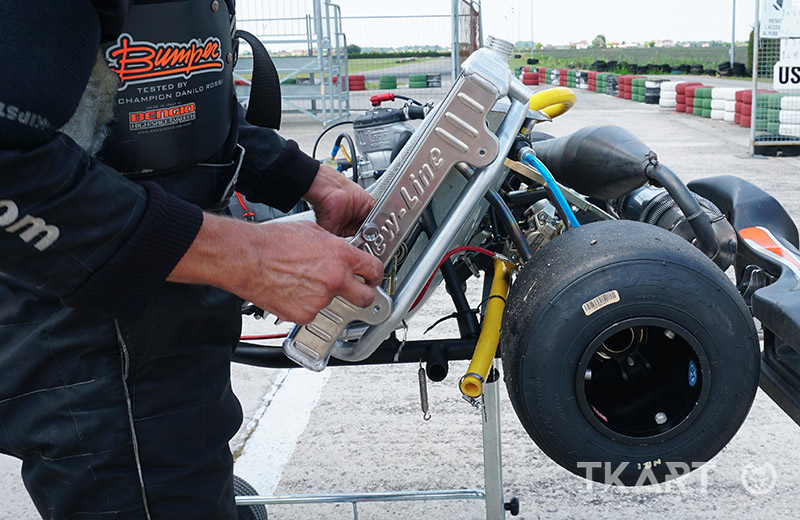
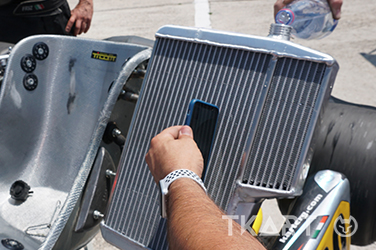
At first glance, the radiator may seem to be one of the simplest accessories to mount on a kart. However, in reality, there are numerous details that can improve or worsen its performance. To proceed with the mounting, after having removed the left fairing of the kart to be able to work without obstacles, the first thing to mount is the front bracket, which is the shortest one of the two that support the radiator. Straight afterwards, the longest bracket is fastened to the chassis, without tightening the screws as much as possible, since its angle will have to be adjusted later. At this point it is possible to adjust the height of the brackets, acting on the slits which allow the radiator to be raised or lowered. The height depends on the radiator model. However, in general it is always better to mount it slightly higher than the upper engine water outlet, so as to prevent air forming in the engine head if it is not properly bled. Next, using the brackets, you can fasten the radiator to adjust its lateral dimensions. First, however, it is good to re-mount the fairing, which will serve as a reference point to understand how much you can move to the left.
alt
Fastening the radiator brackets to the chassis
alt
Fastening the radiator brackets to the chassis
alt
The "slit" in the brackets allows the height to be adjusted
alt
The bracket can slide also to adjust the horizontal position of the radiator
alt
The bracket can slide also to adjust the horizontal position of the radiator
alt
The bracket can slide also to adjust the horizontal position of the radiator
2 ANGLE
Having found the best position, it's time to adjust the angle. The reference value is 55°, the optimal angle for when ambient temperatures are between 20 °C and 30 °C. The angle can be increased or decreased depending on whether you are in a warmer or colder climate, proceeding with 5° steps at a time and testing the differences on the trackChecking that the radiator is the right angle is not a difficult, all you have to do is use a smartphone with an application to measure the degrees by placing it on the radiator. Once you have defined the angle, you can proceed to thoroughly fasten all the bracket screws
alt
55° is the "standard" angle indicated for temperatures between 20 °C and 30 °C
alt
There are applications for smartphones that allow you to measure the angle simply by placing the phone on the radiator
3 DEFLECTOR
Several radiator models allow the installation of a deflector, in other words an aluminium partition designed to facilitate the disposal of hot air coming out from the rear side of the radiator. To carry this out correctly, the diffuser must be mounted on the left side of the radiator with thick washers: it is essential that a channel is created between the deflector and the radiator to allow the entry of the air which, in this way, will be channelled and directed against the hot air coming out of the rear of the radiator. The aim is to deflect the flow of warmer air from the left rear tyre, so as not to increase the temperature and, therefore, the pressure. If the deflector is mounted as part of the radiator, its function would be nullified, to the detriment of both the cooling and the performance of the tyres.
alt
The deflector helps dispose of hot air coming out of the rear side of the radiator
alt
The deflector helps dispose of hot air coming out of the rear side of the radiator
alt
The deflector must be installed away from the radiator, to allow air to channel
Continue reading the article by subscribing for only 0.96 € / week
3
Explore these and many other
premium contents
Go to Magazine