Choose the language.
TKART magazine How To | How to build a racing kart. From the chassis to the product ... "turn-key"
Exclusive Content

HOW TO BUILD A RACING KART: FROM THE CHASSIS TO THE PRODUCT ... "TURN-KEY"

TKART Staff
08 September 2018
alt
alt alt
Advertisement
INTRODUCTION
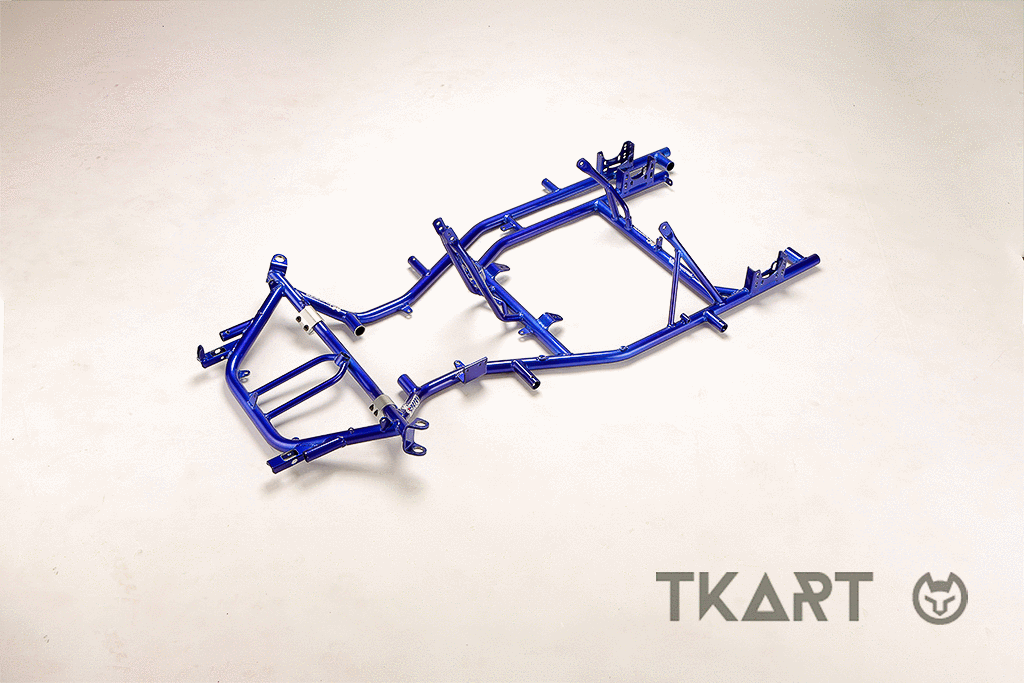
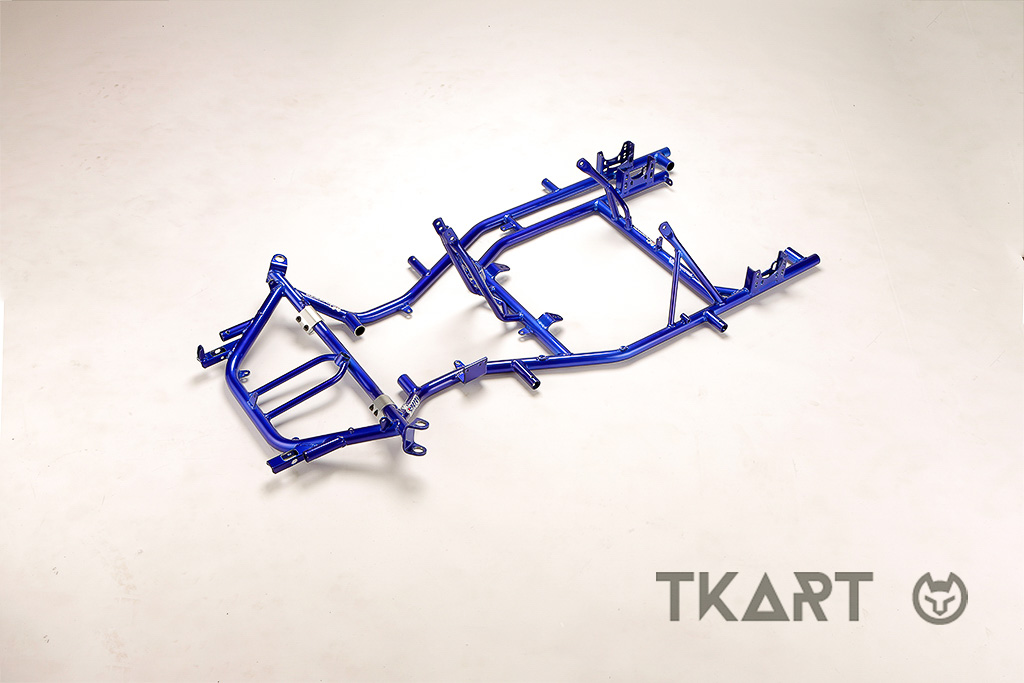
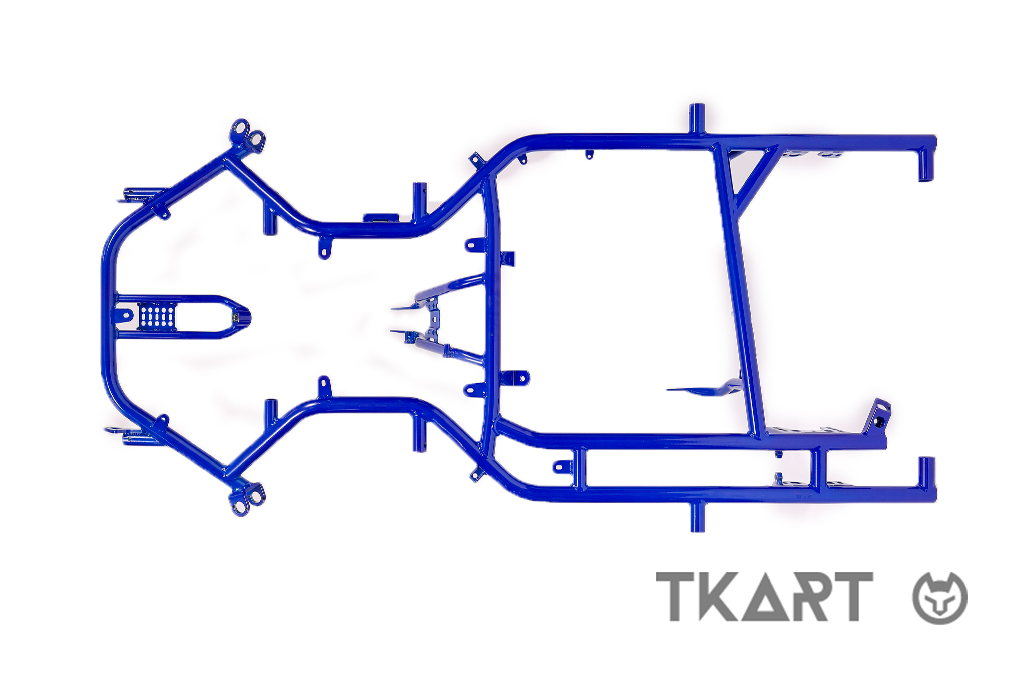
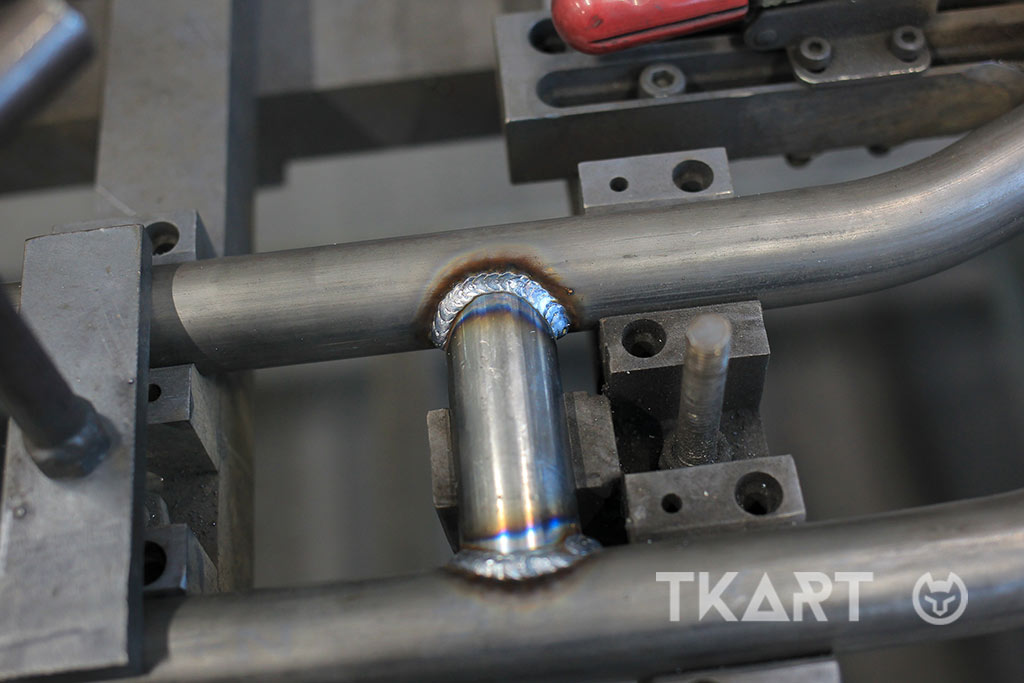
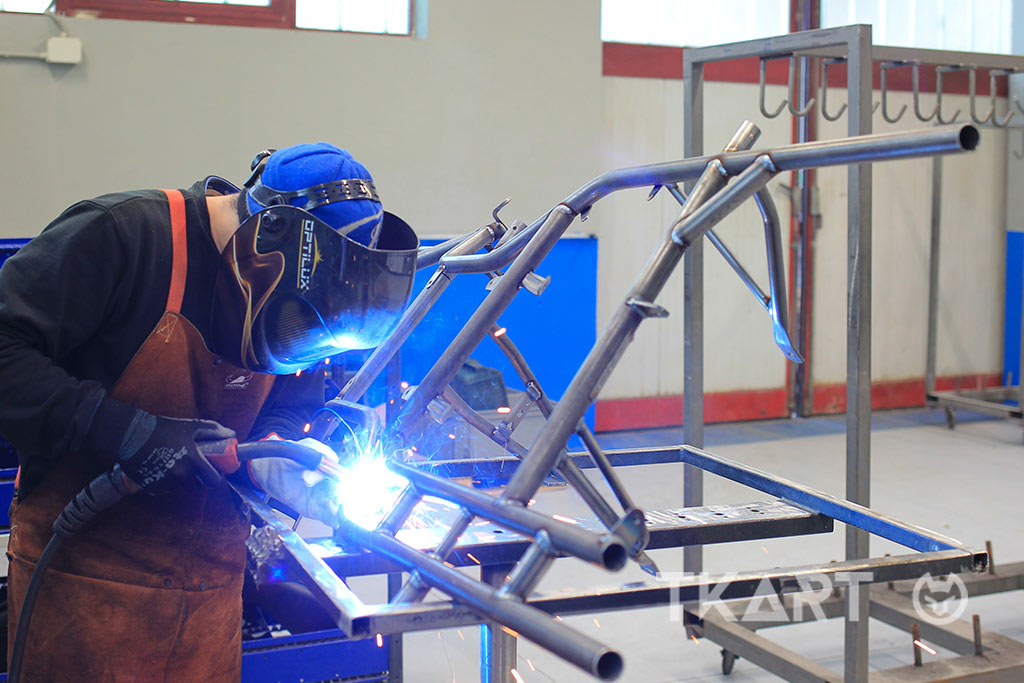
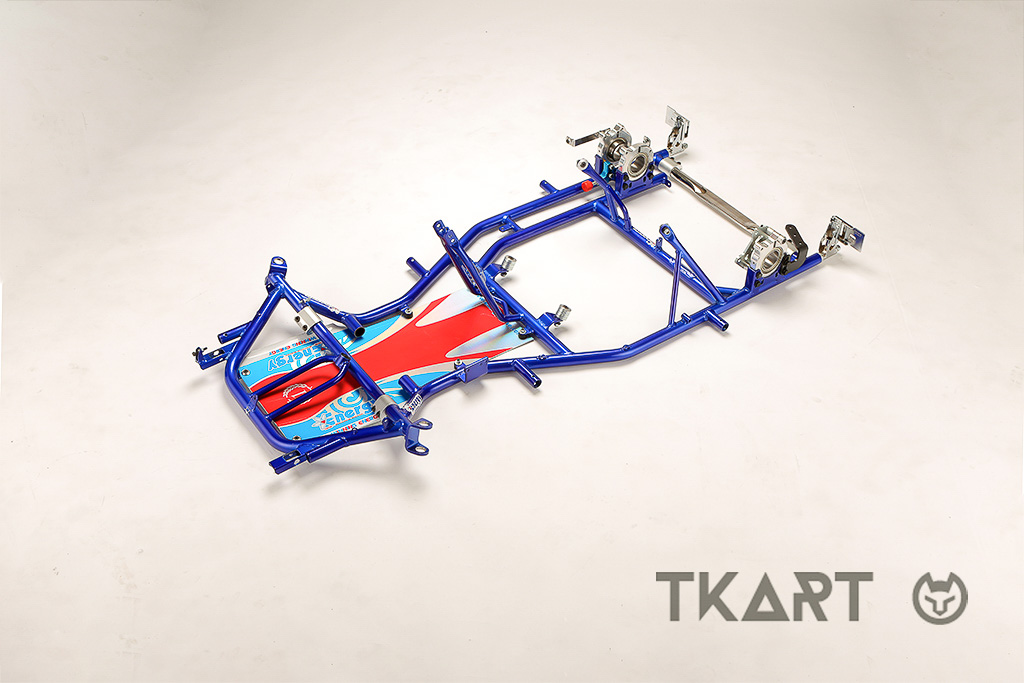
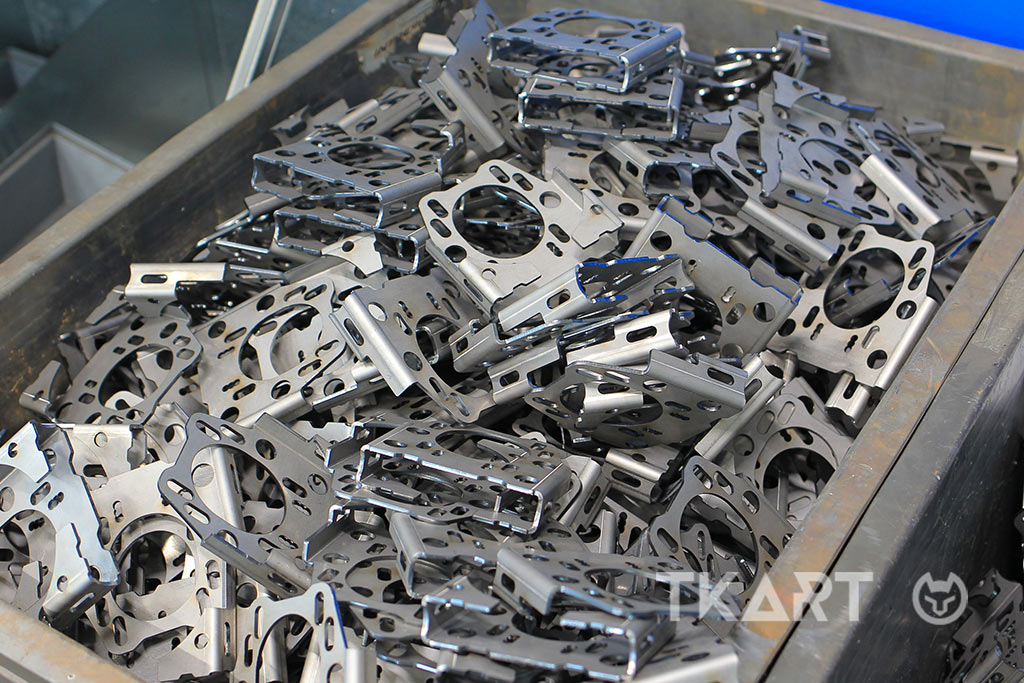
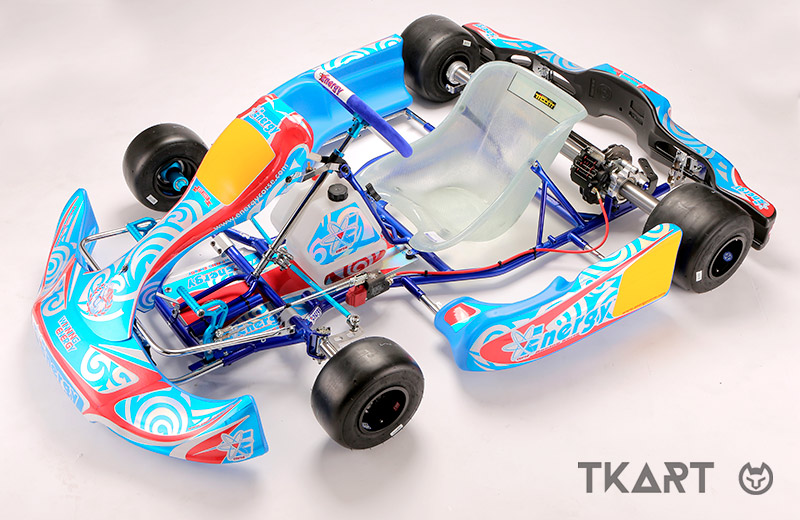
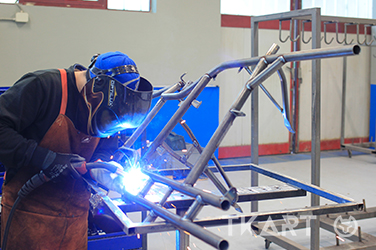
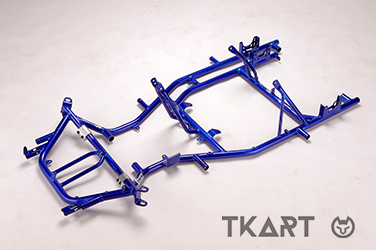
The appearance of a complete kart, when it shines immaculately in the showroom windows of retailers, as well as when it races on the tracks around the world, all greasy and blackened, is well known by everyone. Perhaps less known is the process required to achieve that result starting from the essential few tubes welded together that form the chassis. A process that assembles almost a thousand pieces, including large plastic components and tiny washers, and in which each step follows a precise logic to achieve the best result. Clearly, the process has many possible variations, dictated by the characteristics of the accessories that need to be assembled, the convictions of the technicians and the habits of the various manufacturers. However, the general guidelines are the same for everyone, like a basic and indispensable trace without which nothing can be built.
alt
1 THE FRAME
The starting point is obviously the frame, which in turn is the result of a series of procedures designed to weld together the tubes of which it consists. Basically, the big difference in the process is represented by manually welded
frames and those that use an automated and robotised welding process. The result, in the end, is the same: a chassis that is ready to form the backbone of a kart.
Before proceeding with the assembly of the first components, however, the frame must be cleaned, eliminating any excess paint by using tools such as a drill and a milling machine. Once the milling is complete, we can finally move on to the next step
alt
The "naked" frame: the starting point for building any go-kart
alt
The "naked" frame: the starting point for building any go-kart
alt
The detail of a weld performed on the tubes of a chassis
alt
The welding process of the frame can be manual or robotised
2 BEARING HOUSINGS
The first accessories that are fitted onto the frame are the "bearing housings" with the rear bearings, an essential step in order to proceed with the assembly of the brakes and axle in the next step. Firstly, however, it should be noted that one of the main differences in the process of building a racing kart is the analysis of the type of vehicle: in fact, non-shifters require less effort, being equipped with just the rear brake. A KZ, on the other hand, equipped with a dual braking system, rear and front, will require more effort and a little more time.
alt
Bearing housings, bearings and, if so desired, the floor tray, are the first accessories to be fitted onto the frame
Continue reading the article by subscribing for only 0.96 € / week
10
Explore these and many other
premium contents
Go to Magazine