Choose the language.
TKART magazine How To | Building a top class rental kart: from the chassis to the bodywork
Exclusive Content

BUILDING A TOP CLASS RENTAL KART: FROM THE CHASSIS TO THE BODYWORK

TKART Staff
19 July 2018
alt
alt alt
Advertisement
INTRODUCTION
The rental sector has always been an essential component of karting. It may not have the charm of racing or be as prestigious as the top international competitions ... Yet anyone who wants to have fun without spending a lot, or challenge friends even without having experience to back them up, turns to kart rental.
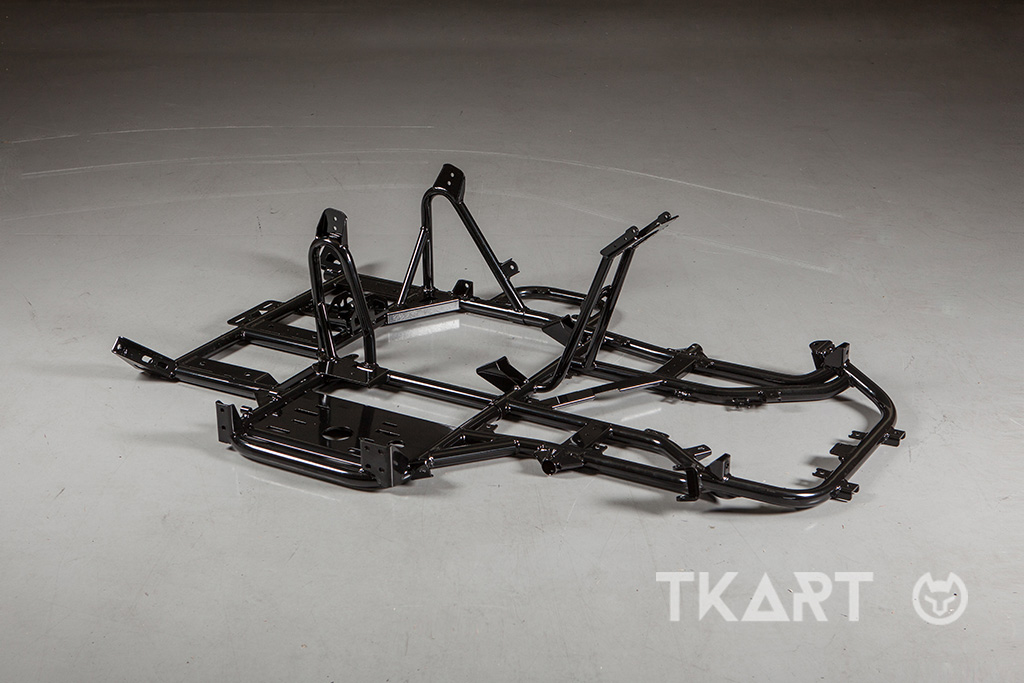
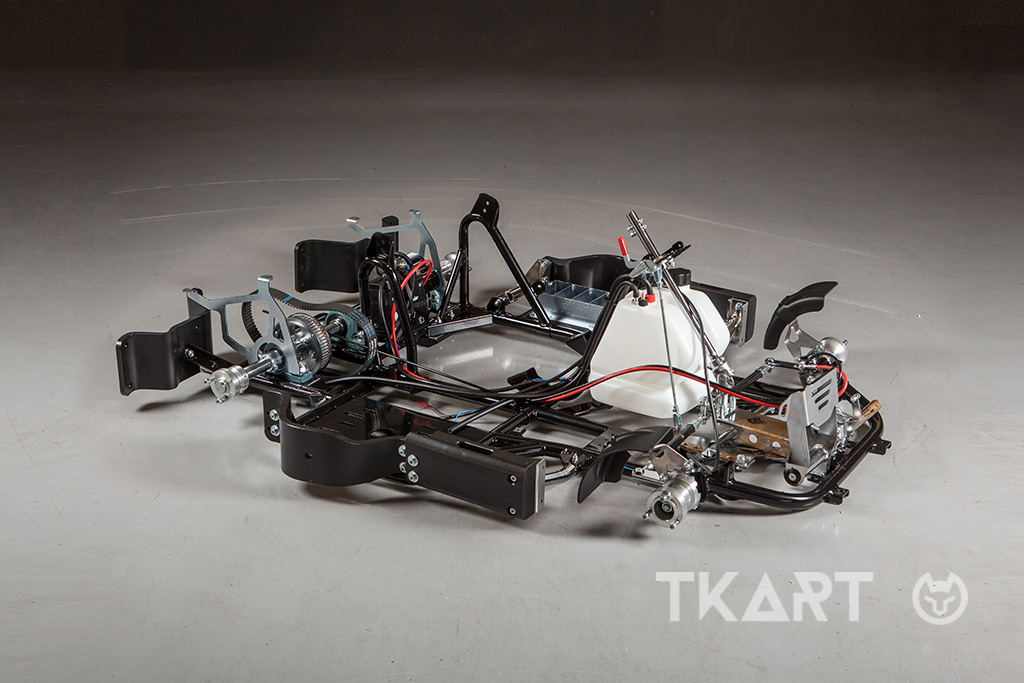
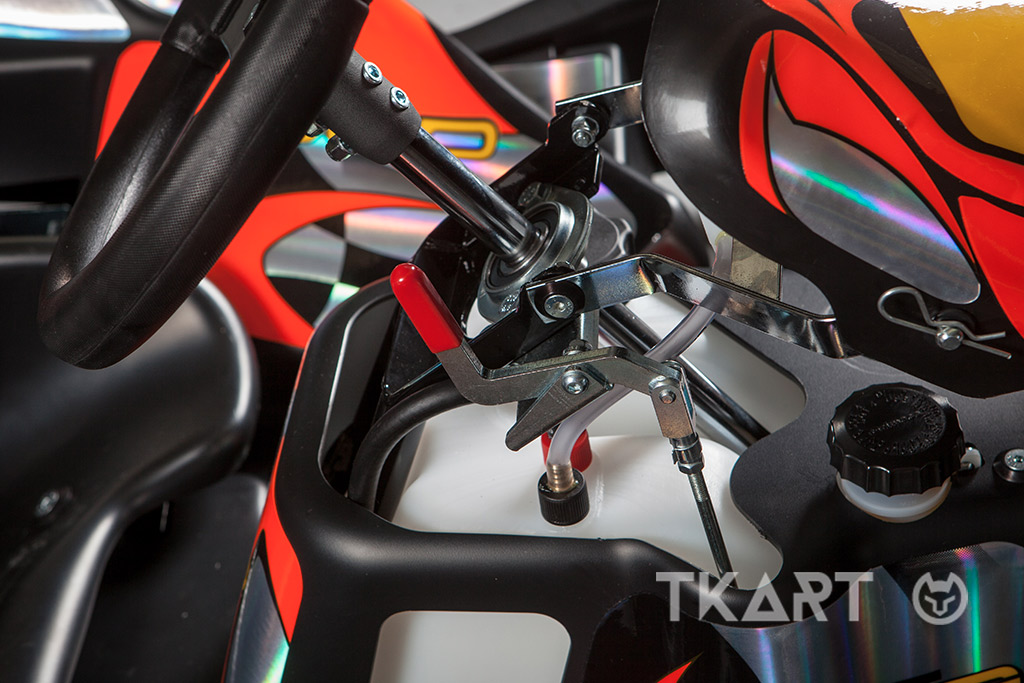
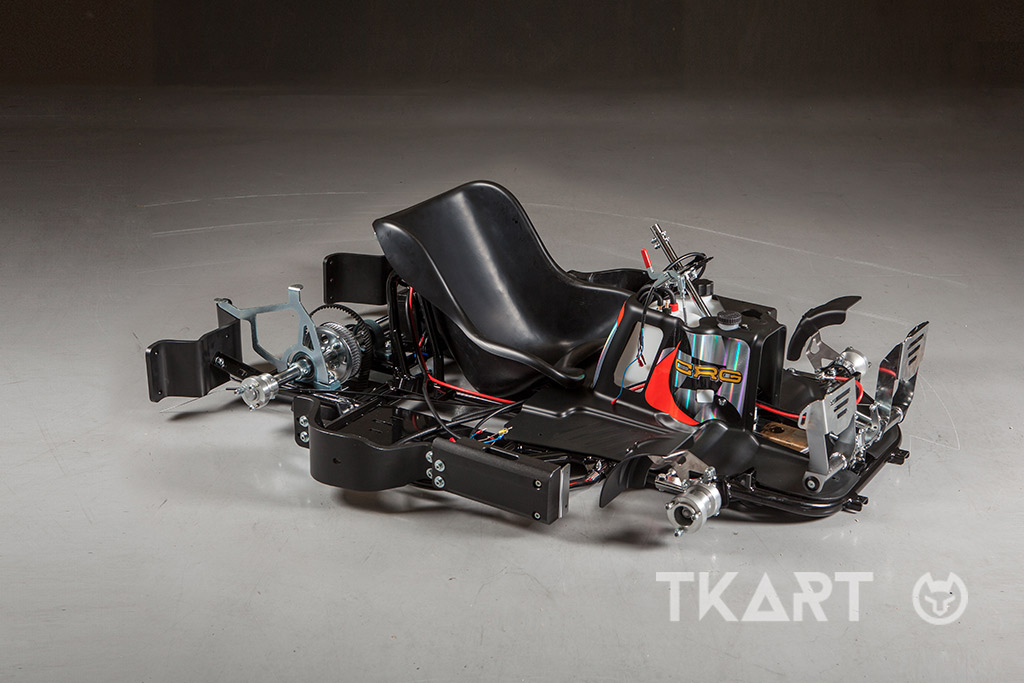
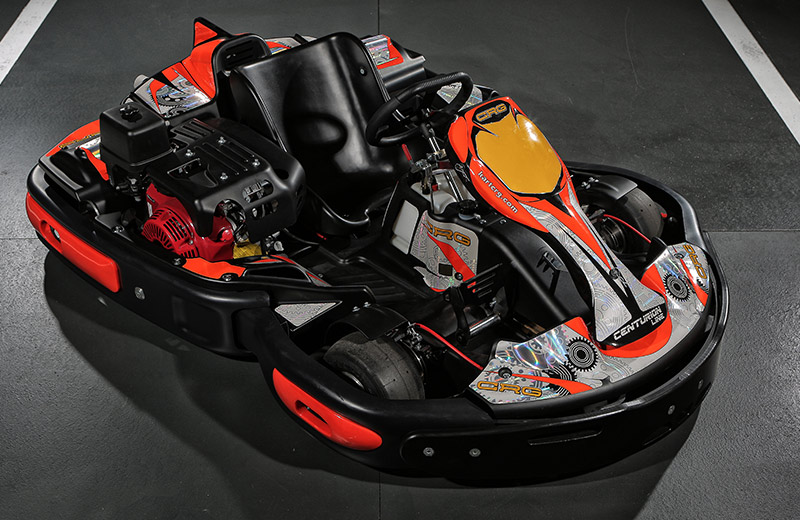
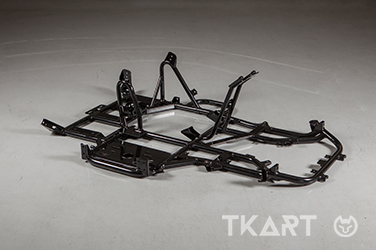
With increasing satisfaction, among other things, considering that in recent years it cannot be said that the rental sector has remained last in terms of technological development, as well as an improvement in performances. Several important companies associated with the history of karting, have focused strongly on this sector, making vehicles available to the market that are increasingly sophisticated and performant, with services that have developed in line with the increase in efficiency of safety systems. CRG is without doubt one of the top companies, with its Centurion line further raising the quality level. We went to find out how kart rental is realised, starting from the body (strange ...) ending with specific full fairing.
alt
1 THE CHASSIS
The starting point is the same as for “regular” karts: a chassis made of 32 millimeter chrome molybdenum tubes. The big difference in the rental frame is the presence of 4 stringers, to ensure the necessary support for a body structure that is bigger and heavier than that of competitive models.
Geometry-wise, the engineering goal was to obtain a vehicle as easy to drive as possible (this explains the special design on the front end) and at the same time very resistant, since it is destined to non professional and often non experienced drivers.
LABOR TIME: 4 hrs (inclusive of manual welding).
alt
2 FRONT END
Starting from the naked chassis, the second step is the installation of all front-end components: spindle-pins, the steering assembly and the adjustable pedal system (engineered to accomodate for different body fits).
Next come the side fenders, the fuel tank, the gas and brake lines and all the electrical wiring.
The rear axle also gets installed at this point. Compared to racing karts it has a smaller diameter (30 mm versus 50), but is solid, rather than hollow.
LABOR TIME: 2 hours, on average
alt
alt
3 INSIDE PANELING
At this point CRG operators install the inside paneling, which covers over the pedal system and “encases” the fuel tank; then they put the seat in place. In “structural” terms, nothing changes at this point. In fact, the key thing to do now is flush the brake system and connect it to the vehicle to make sure it works properly. The final operation of this phase is fastening the gas lines to the chassis.
LABOR TIME: 2 hours, on average
alt
alt
Continue reading the article by subscribing for only 0.96 € / week
1
Explore these and many other
premium contents
Go to Magazine