


no results
Frequent Searches
"Axle"
"Tires"
"Setup"
"Caster"
"Seat"
"Carburetion"
"Carburettor"
Frequent Searches
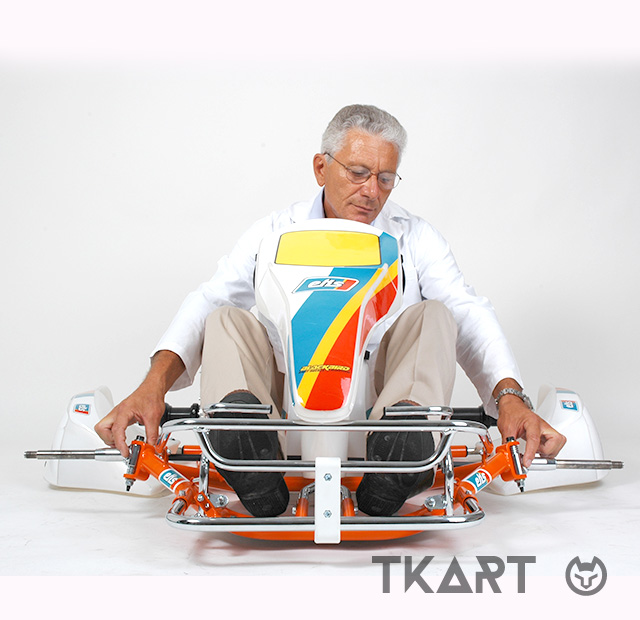


In karting, the issue regarding height is quite delicate. On the one hand, in practice, varying this parameter, especially at the front, is a simple task and does not require any special skills. On the other hand, having expert knowledge of the effects that varying the height has on the set-up and handling of a kart is quite complex. Not surprisingly, in general, varying the height of a kart is only recommended after trying all other possible measures to find the ideal set-up. Indeed, raising or lowering a chassis changes the kart + driver’s centre of gravity, which, in turn, affects the handling of the chassis and, therefore, driveability. The topic has been discussed in depth on TKART, both in the “technical” channel, as well as in the “expert advice” section. Suffice it to mention the fact that, by raising the centre of gravity, the force that tends to rotate the kart and driver outwards increases. This force (more specifically, “momentum”) places the load on the supporting wheels, thereby increasing grip and lessening the loading on the rear wheels at the same time. However, Dr TKART doesn’t deal in theory... Therefore, without asking too many questions regarding the consequences on driveability and set-up, let’s take a look at how to modify the front height of a kart on a practical level, hammer and wrenches in hand.
Changing the front height of a chassis requires work on the stub axle adjustment washers; after removing the wheels from the kart, obviously.
It is not strictly necessary to position the kart on a trolley, since the Cs of the chassis remain free and raised even when the frame rests on the ground. Naturally... it is easier to work on the kart when using a trolley.
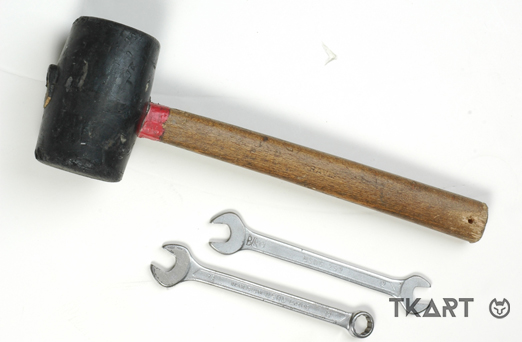
Firstly, use two 13 mm wrenches to unscrew the kingpin.
After removing the nut (on the bottom of the chassis), use a rubber mallet to release the bolt from its seat.
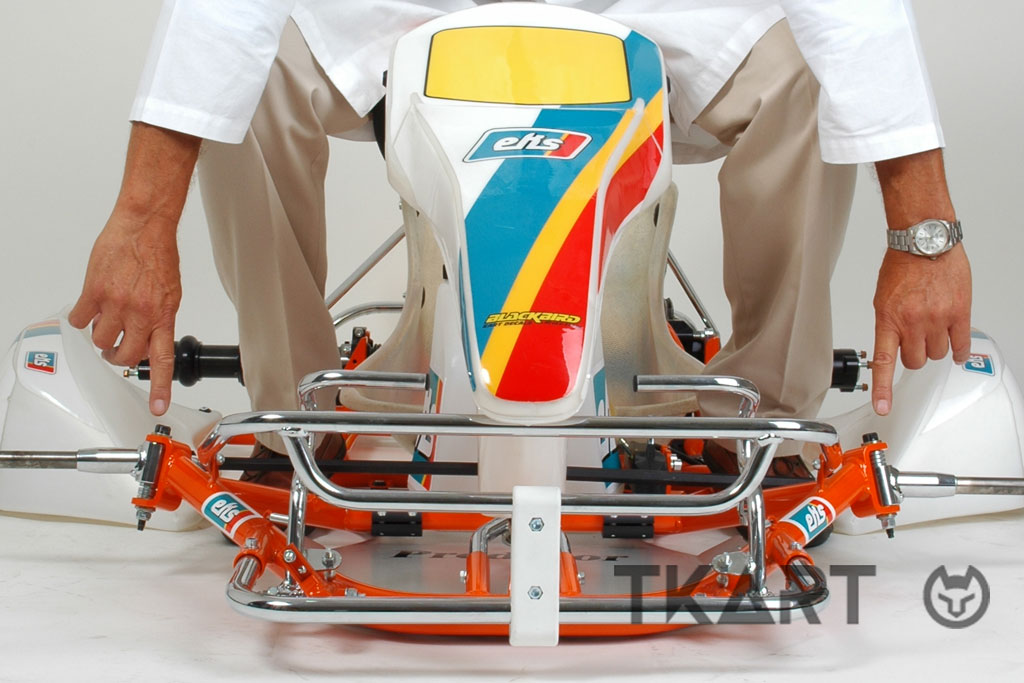

Once the bolt has been completely removed from its seat and the chassis “C” has been freed (which is necessary in order to change the number of spacers and, therefore, the front height of the chassis), it is time to decide which set-up configuration to use: a neutral set-up, with an equal number of spacers above and below the stub axle (intermediate height); a high set-up, with all the spacers positioned above the stub axle; a low set-up, with all the spacers below the stub axle.
There is no “correct” height, because there are many variables that come into play (the track conditions, the weather, the driver’s preferences...). Generally speaking, on a rubberised track the chassis should be low, while it can be raised in the event of low grip. In the rain, for example, a high set-up is preferable.
